Under the Rotate globe, you'll find the Light globe, where you can rotate the light's direction so that you get different light effect (think of it as changing the way the virtual sun shines down on your block).
I suggest you use all of the functionality we have covered so far and become familiar with visualizing the various parts of the block in front of you. In particular you need to be very familiar with rotate, zoom, reset view and switching between solid mode and transparent mode. When you’re familiar with these, let’s continue to traveling fore and back in time
Zoom and Display Options
Besides rotation, you can also zoom in and out (make the block bigger or smaller), in the 3D graphics window click and hold-down the RIGHT mouse button and while still holding it down (i.e. dragging it) move it slowly up and down. Again you can reset your view with the Reset View button on the lower right. You can also use the left/right arrow keys to rotate left and right and the up/down arrow keys to zoom in and out (you may need to click into the 3D graphics window first for the arrow keys to work).
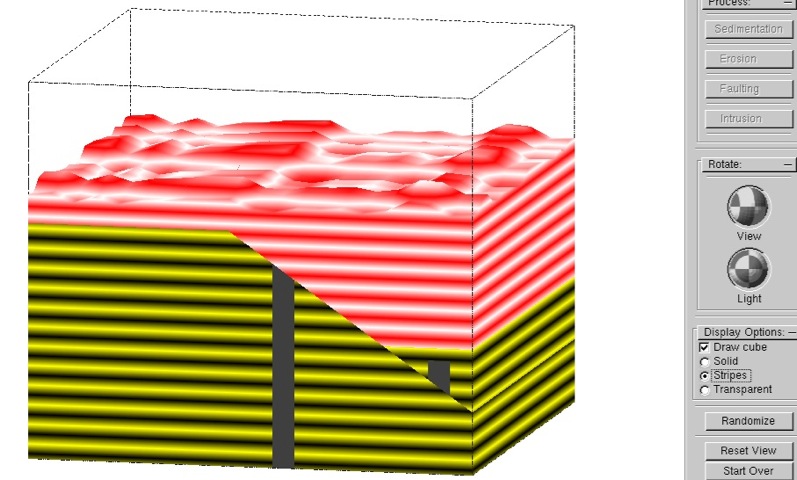


The stripe mode will apply a stripe pattern which can be very useful to better see the shift created by a normal fault:
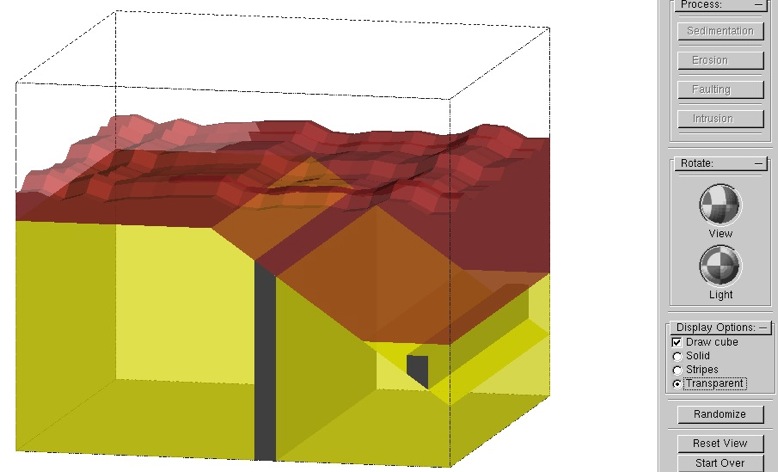
The Display options allow you to change the appearance of the rocks - so far you've been looking at them in solid mode, however you can change to stripe mode and transparent mode. In transparent mode (click on it now) you can look inside the rocks to see more details, some of which are the key to deciphering this type of 3D puzzle: