
Getting Started
I assume you have have already downloaded and installed the GTM software. Start the application now, on Windows: 2 x click on the GTM shortcut on your Desktop, on Mac: 2 x click on GTM.app (or GTM) where you installed it - most likely the Desktop.
Let’s talk about a few conventions I'll be using: Click means click-with-left-mouse-button, Right-click means click-with-right-mouse-button, left-drag means hold-down-left mouse-button and while moving, similar for right-drag (on Mac this may be emulated by command-left-drag). Grayed-out or inactive button means that the text of a button will be very faintly readable, active button means it has a nice black color.
You can watch a Flash presentation of this and the next tutorial step here!
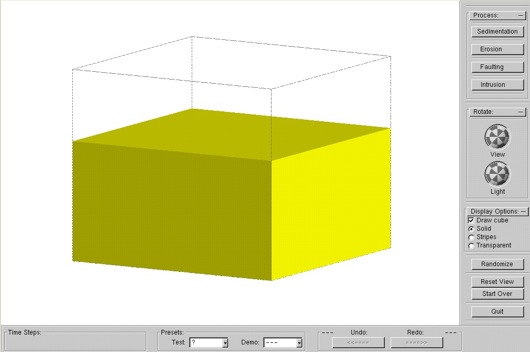
The application has three parts: the 3D graphics window (large upper left part), the right interface part (Process, Rotate, Display Options and several buttons) and the bottom interface part (Time Steps, Presets and Undo - Redo):
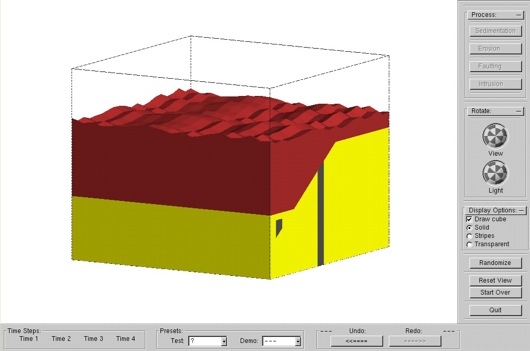
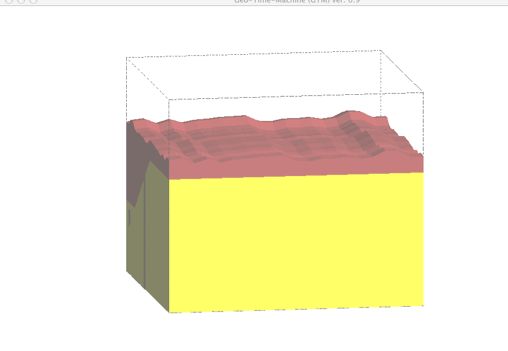
Right now, the 3D graphics window shows a simple block of yellow rock with some air above it, this is the part of the earth that you will follow fore and back over time with the time-machine. Let’s start and throw some geological processes at this unsuspecting chunk of rock: randomly press the all of the four process-buttons (Sedimentation, Erosion, etc.) in the process window. Note that, as you select a certain process (say: erosion), the 3D graphics changes and its button becomes inactive (gray) - in other words you cannot apply the same process twice. This is what I got:

3D graphics window
lower interface part
right interface part

process-buttons
grayed-out
process-buttons
process-buttons


Time Steps


You’ll now notice that 4 time steps in the Time Steps Box (lower left) have appeared, indicating that you have journeyed through four processes in four time steps (remember: all we know is relative time - step 1 was first, then step 2, etc.)
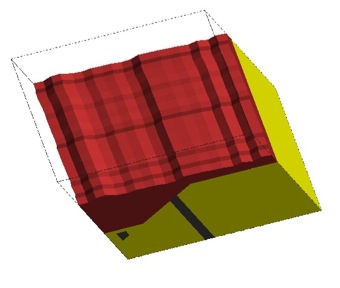
The GTM encourages to interactively explore you simulated geology, so let’s change our view a bit. First, we will rotate the block around the vertical axis: move your mouse into the 3D graphics window, click and hold-down the left mouse button and, while still holding it down (i.e. dragging it), move it slowly from left to right and back. You will see the block rotate around the vertical axis:
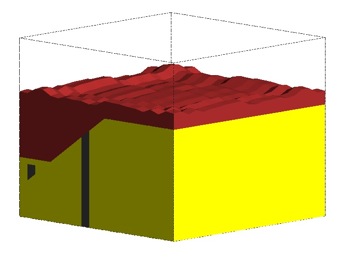
When drag the mouse, you will also notice that the little View Ball (under Rotate) will rotate the same way. You can also directly drag this ball, but beware: this will let you rotate in any direction (not just around the vertical axis) and you may end up with a weird view. If you don't like this view, simply press the Reset View button on the lower right:
Now let’s learn about zooming and display options